Curly is a character I developed for my Computer Animation course (CSC2529). The purpose of the course project was to create a short animation to understand the different steps involved in the process. This project is still a work in progress, but here I've documented everything I've accomplished so far.
I wanted the story to be about a small problem that the character blows out of proportion, much like the short film "Plumber" which was shown at the SIGGRAPH 2003 Animation Festival. In that short, a guy calls the plumber to fix a leaky sink, but decides to fix it on his own because the plumber is too expensive. As he tries to fix the small leak, he proceeds to break the bathroom wall, flood his house, and finally destroy the property. There’s also a funny joke at the end--the phone rings again, and it turns out the guy we were watching is actually the plumber!
But I digress... I wanted my story to have the same narrative structure as "Plumber." The story I came up with is shown in my
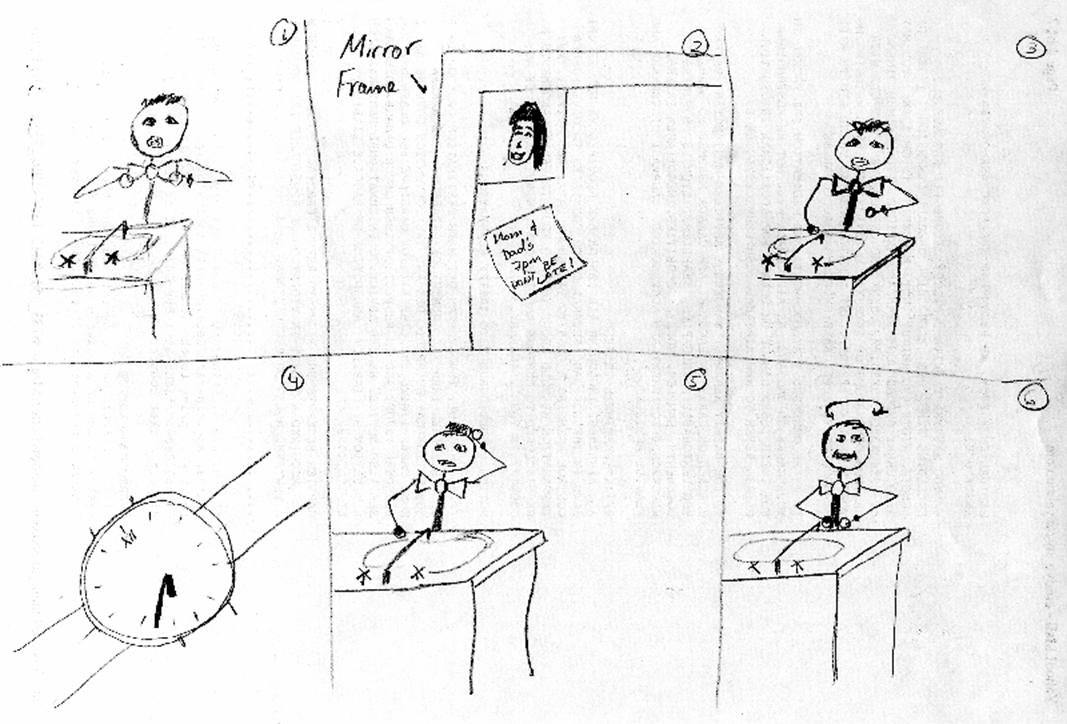
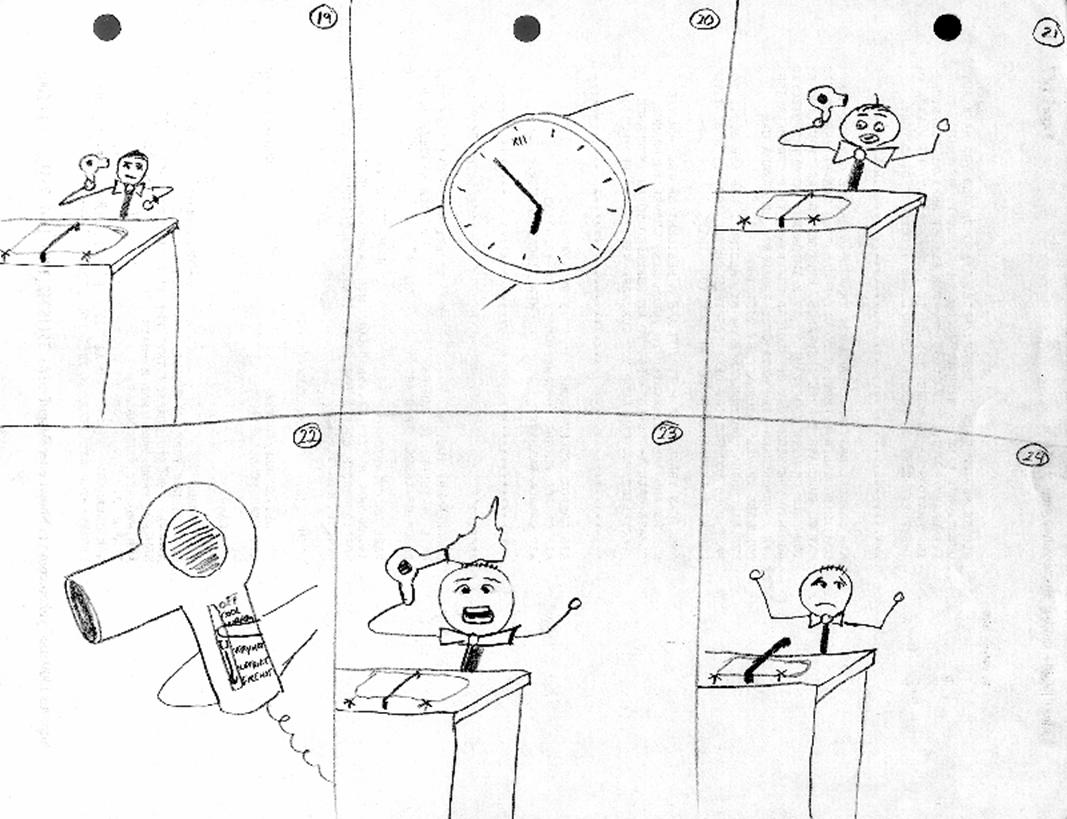
Hopefully, you got the whole thing from the storyboard, but in case you didn't...
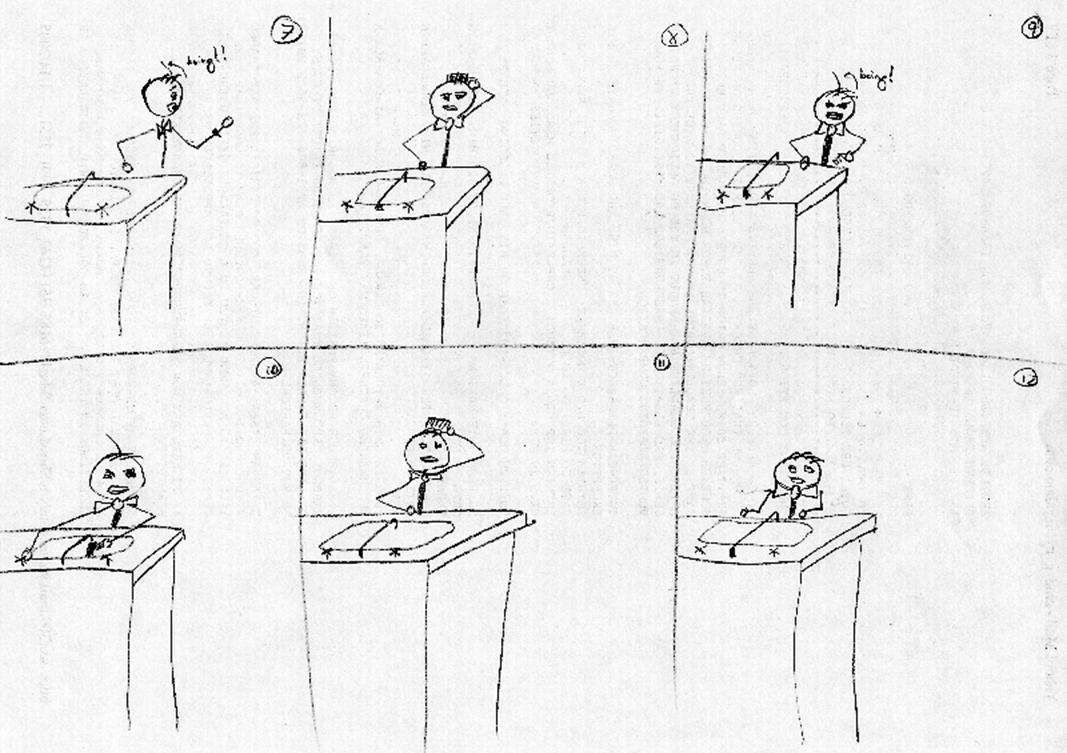
The main character is going to meet his girlfriend's parents for the first time. He combs his hair, looking good, but as he is leaving a few rebel hairs jump up. He combs again, to no avail. He tries keeping the hair down with water, which works--almost. Now very upset, he decides to use hair gel (typo in the storyboard). It is well known that some of those gels are really heavy on the alcohol...
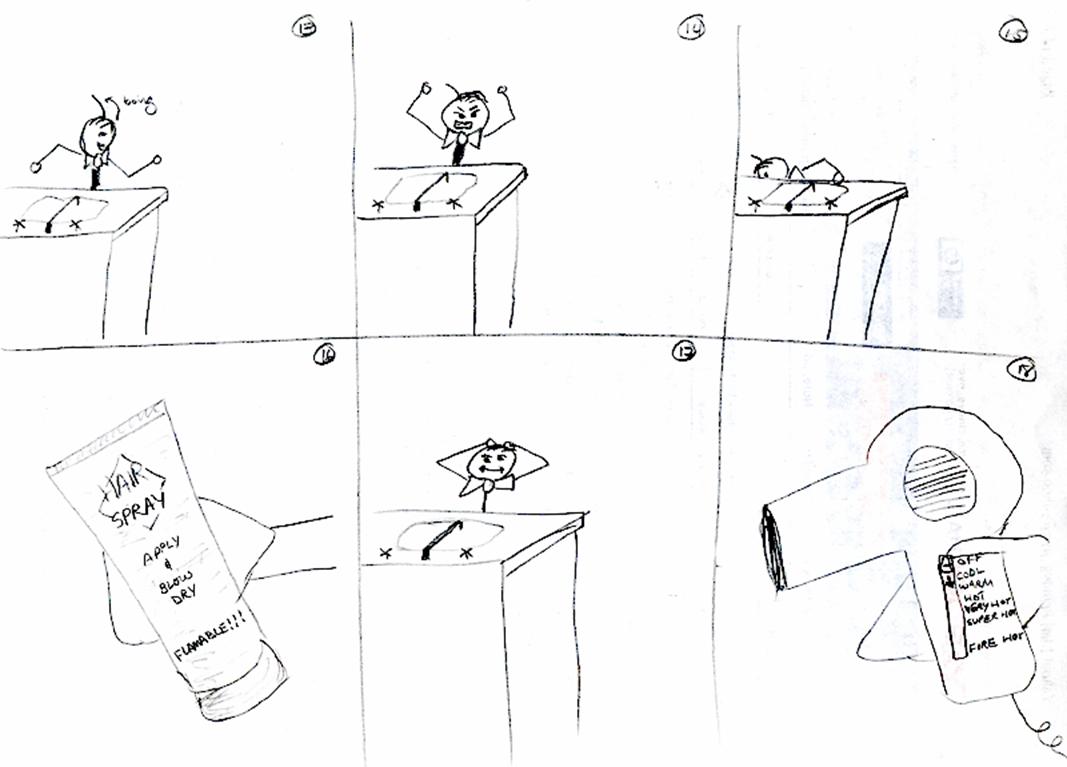
Anyway, our hero takes out the hair dryer and puts it on a good setting. (If you can't read the labels, they go, from top to bottom: off, cool, warm, hot, very hot, extra hot, super hot, nelson hot, fire hot. Ok, I just added a few...Nelson hot? Have you ever been to Thai Cuisine in Ithaca, NY?) As he's blow-drying his hair, our hero checks the time again. Oh no! He's running late, so he pushes the blow dryer to the FIRE HOT setting. Fire blows out, burning his hair to a crisp...
BTW, I have a cute joke during the credits. But I don't want to give it all away...
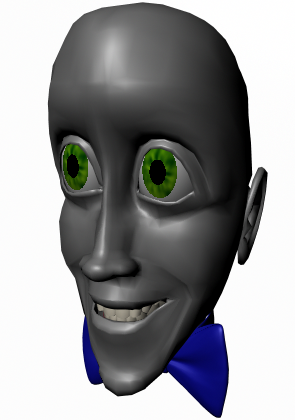
I wanted the main character to have big eyes, but other than that, I only wanted an expressive face--something with character. Here are some of the drawings I made. I don't consider myself much of an artist, but the work I did for my masters thesis has paid off...
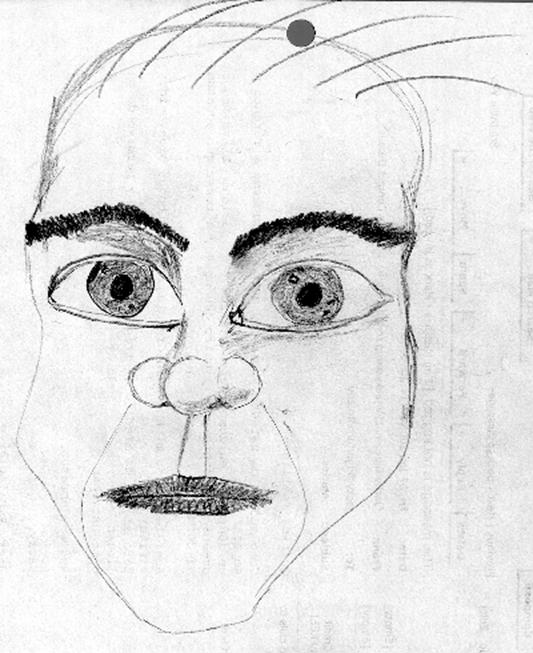

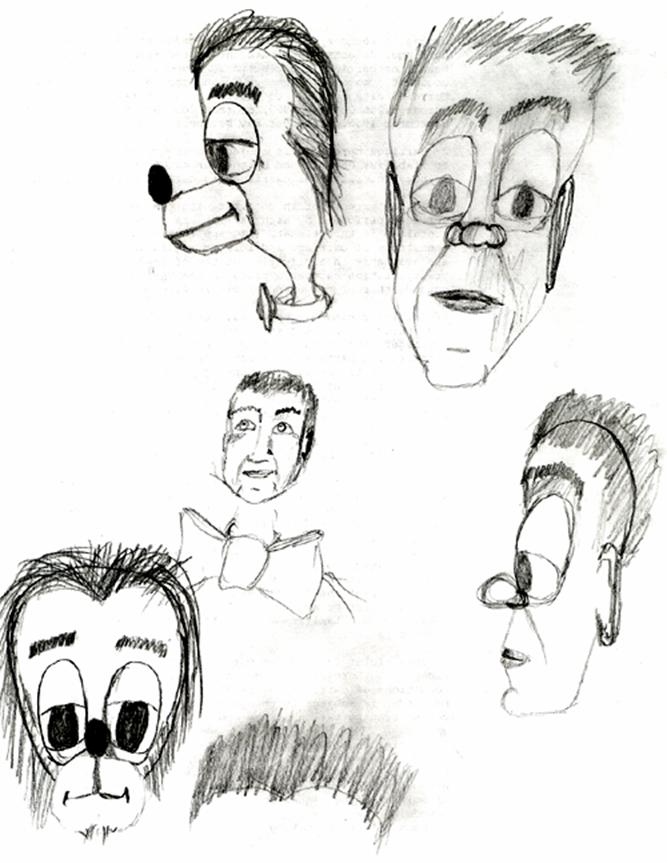
I liked the two images on the top right corner of the right-most image--the thin guy with the perky nose. That is what I was aiming for, at least.
I modeled the face using Maya and inspired by this book, which was also very helpful during my masters work. I highly recommend it. I didn't quite arrive at the character detailed above, but I like this one too. However, the ears can use more work.
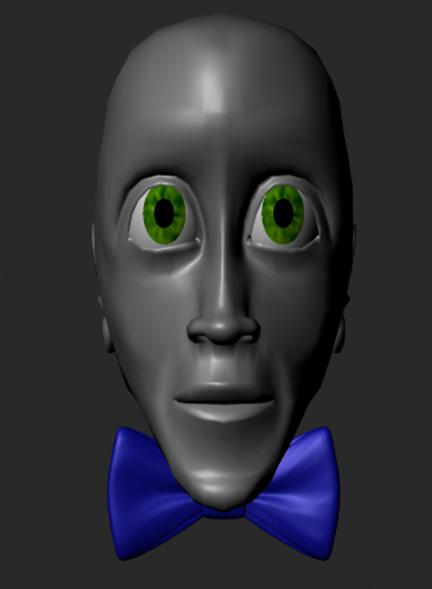
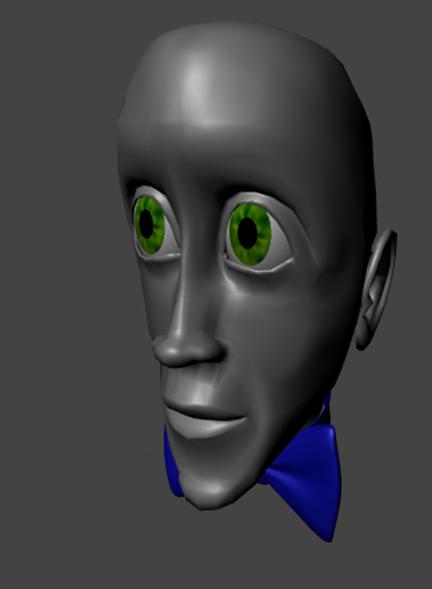

The final model is polygonal, although the eyes are NURBS spheres. I was concerned about how to rig these non-spherical eyes using aim constraints and not fall out of the face. The solution turned out to be very simple. Instead of setting the scaling parameters on the sphere transform itself, turning into an ellipsoid, I grouped the sphere and scaled the group. The aim constraint of the sphere will take care of moving the eye texture, and the group object will then scale the eye to the correct shape.
Of course, the internals of the mouth need to be modeled too, in case the character actually opens his mouth. Here are the teeth models:
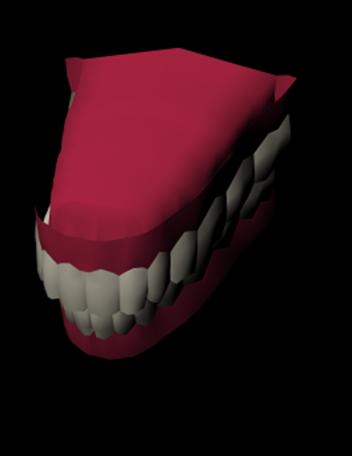 Top and bottom teeth. |
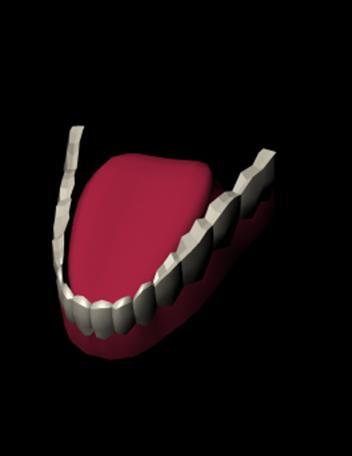 Bottom teeth only. |
 Location of teeth in the head. |
The bowtie was modeled as three NURBS tori.
The body, shown below, is not too detailed, since I'm planning on draping it with a dynamics-based shirt (yeah Maya Cloth). I did spend lots of time detailing the hands, but once I scaled them to be thin the detail is not as apparent. I might tweak them in the future or rely on shading for better effects. No legs, since they will never be visible in the story.
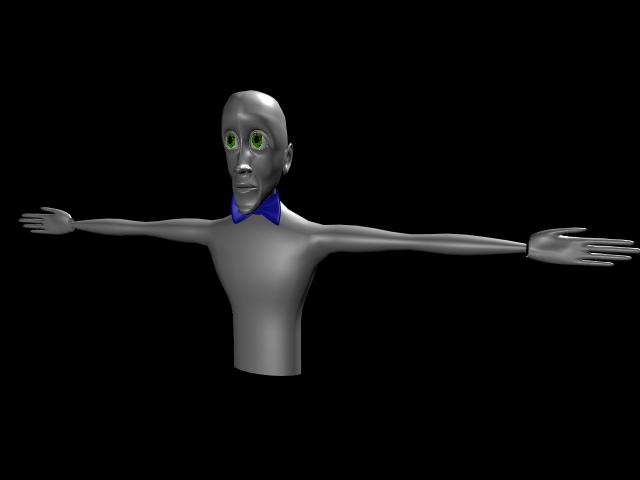
Where are the eyebrows and the hair, you ask? Well, I've worked on those, but I haven't put them on the model yet. Stay tuned, or head on down to the Hair Plugin section.
So necessary, yet so hard. I created a control skeleton for the most of the body, excluding the face, which I intend to animate using blend targets. There are, however, a few bones controlling the eyelids and the jaw.
The skeletons and control shapes are shown in the figure below.
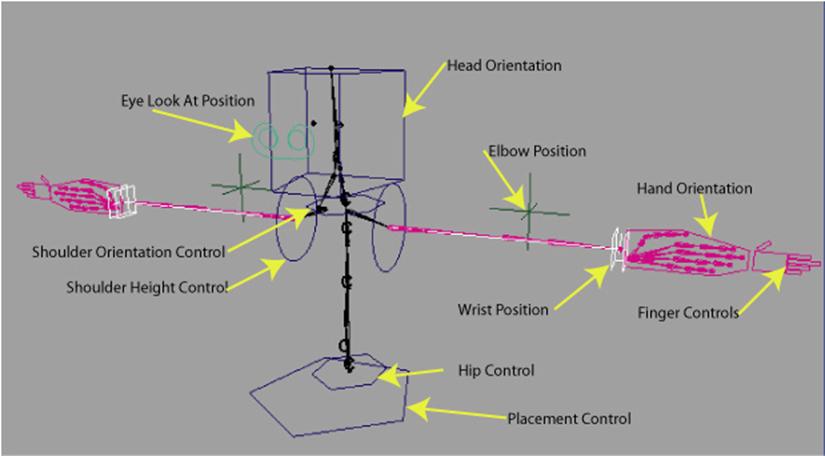
| Placement Control | Overall character position and orientation |
| Hip Control | Orientation of hip area |
| Shoulder Orientation Control | Orientation and bending of upper spine |
| Shoulder Height Control | Lifting of shoulders |
| Head Orientation Control | Nodding and turning the head |
| Eye Look At Position | Where the eyes are focused |
| Elbow Position | Defines the plane of the arm with the shoulder and wrist position |
| Wrist Position | IK positioning of wrist |
| Hand Orientation | Hand and wrist rotations |
| Finger Controls | Control for finger skeletons |
Each finger control contains two attributes: curl and bend. Bend bends the finger at the knuckle, and curl bends the rest of the finger as if making a fist.
The facial animation is implemented using blend targets: here are some of the target shapes.
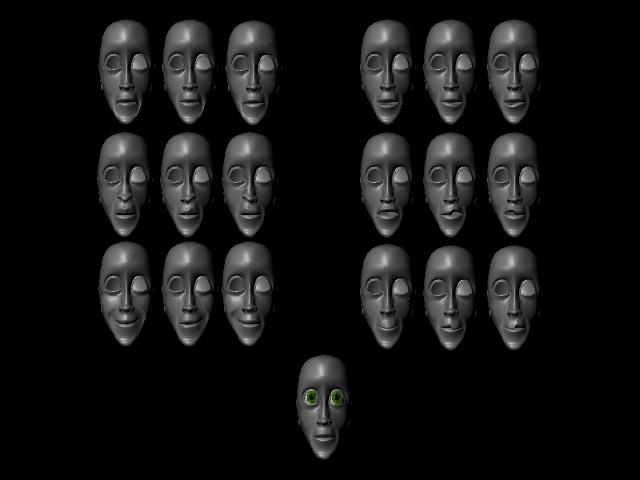
| Lower lip stretch | Lower lip down |
| Sneer | Upper lip up |
| Smile | Upper lip down |
Each expression has a left-side and a right-side variant.
I tested some of the expressions in a small animation. You can download it here. Don't be surprised by the robotic look. There are no changes of shape around the eyes, so the expressions appear life-less.

Since Curly's hair is a character in the story, I need a powerful way to provide key-frame control for hair. Inspired by many talks on hair animation I've read over the years, I came up with the following idea.
All hair is initially placed on a NURBS surface provided by the user. The initial shape of the hair is also given by the user in the form of a curve. Using a MEL script, the hairs are generated on the surface along with 4 control hairs placed at the max U/V and min U/V values. These control hairs have clusters on each CV to allow for keyframe animation. As the user moves the clusters, the shape of the hair curves is updated--the positions of the CVs are bilinearly interpolated from the control hairs in a Maya plugin. The results are shown below.
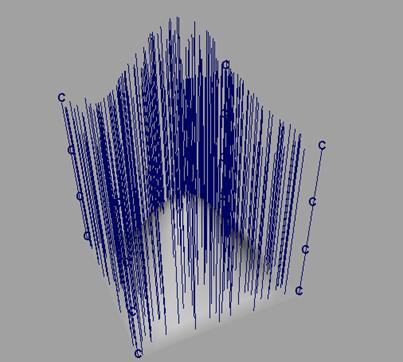 Hair after creation. |
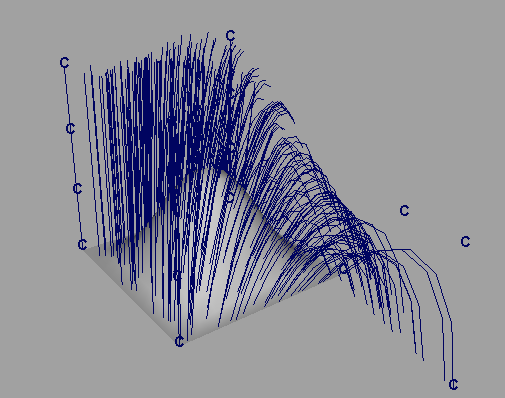 Hair after editing. |
To render the hairs, Maya Paint Effects strokes are attached to the curves to produce renderable output. An example of keyframed hair animation using the hair plugin can be downloaded here.

That's it for now, stay tuned for shading, texturing, animation, rendering, and compositing...